19 de January 2022 — por ETIC_Algarve
Image enhancement techniques in Photoshop


Post-production is one of the three most important components in the production of digital content, be it photography, video. To produce digital content it takes 3 moments, pre-production (preparation), production and post-production.
The ideal is to focus on the 3 in the same way, 33% of attention in each part, the less we focus on one part the more we will have to compensate for the others, that is why we often hear the expression “it is arranged later in post-production” and nothing could be more wrong, we will spend time unnecessarily correcting problems that could have been solved in the preparation or in the production itself.
Unfortunately there are situations that no matter how much preparation and production we do, we always have to solve in post production and this is where we will try to solve two small cases quickly and efficiently.
Correction of Backgrounds
Not everyone has access to production studios with cycloramas, so most photographers use paper backgrounds or cloth backgrounds whose size is often not enough to realize what we have in mind. Fortunately there is a quick and efficient way to solve the problem. However, it should be noted that this tool is fallible since it uses a random filling algorithm and this can give strange results that will have to be corrected later. To carry out these corrections we will use Photoshop.
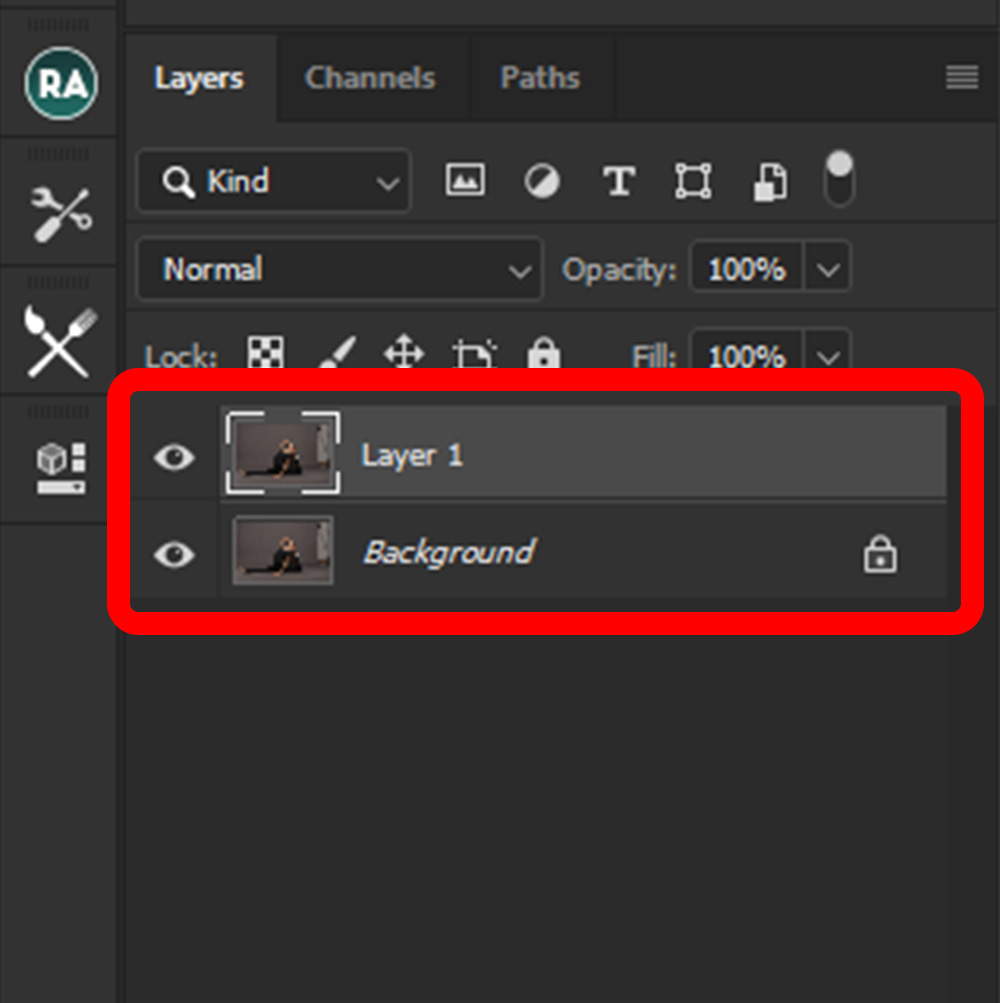
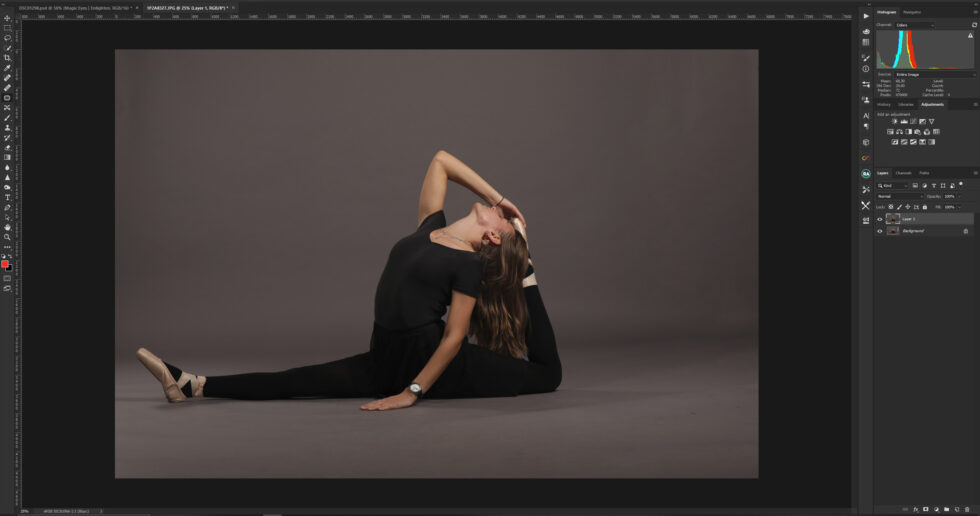
Let’s fix the right side of the image and then the base. We begin by doubling the
background layer with the shortcut ctrl+J (cmd + J for Mac).
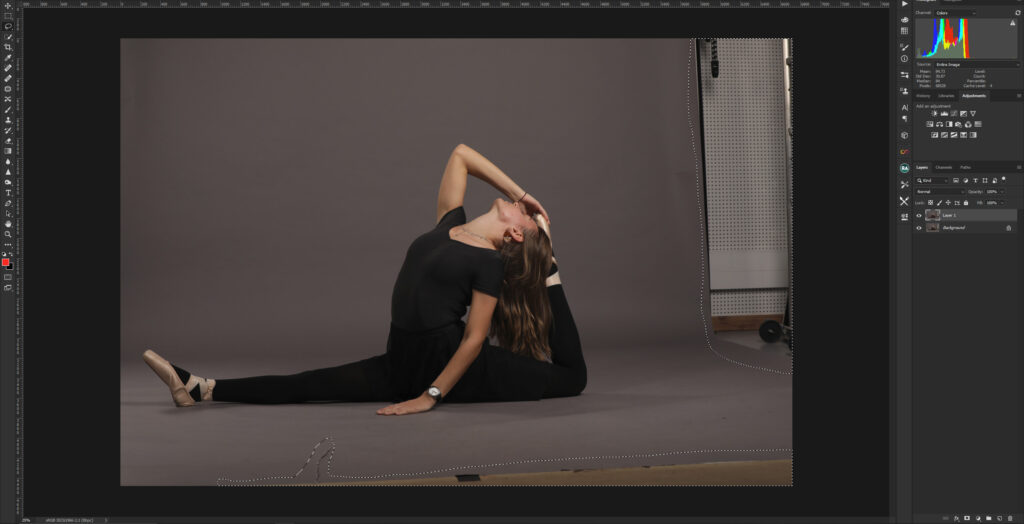
After duplicating the layer we choose the selection tool that we think is most suitable, in this case we will use the Lasso (L) and we make a selection around the area that we want to correct.
To make an extra selection, we click on the Shift key and make a new selection in the other area to be corrected.
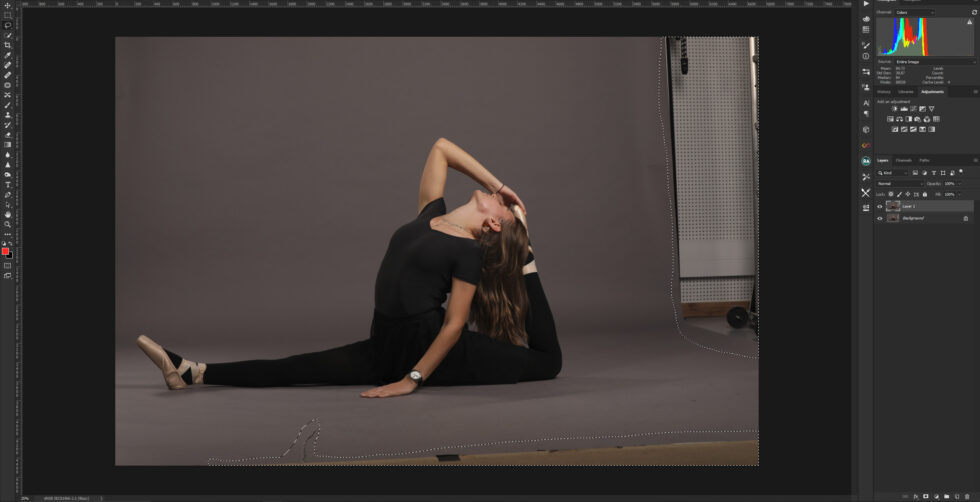
After the selection made we will use a tool called “content-aware”. To access this tool we go to The Edit -> Fill menu or apply the shortcut Shift+F5.
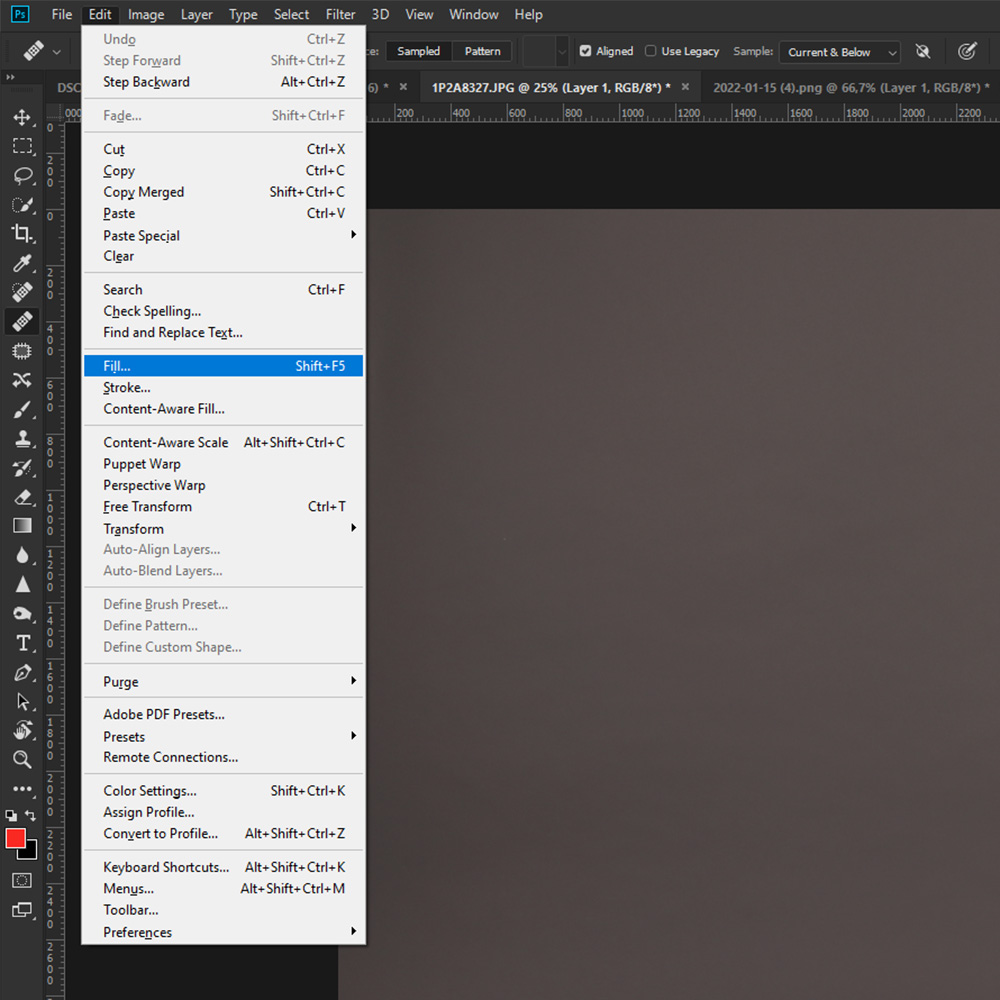
We leave all the options on as shown in the illustration and do ok. Photoshop will process the image and automatically fill in the background. If problems happen, we will have to solve them with the cloning tools.

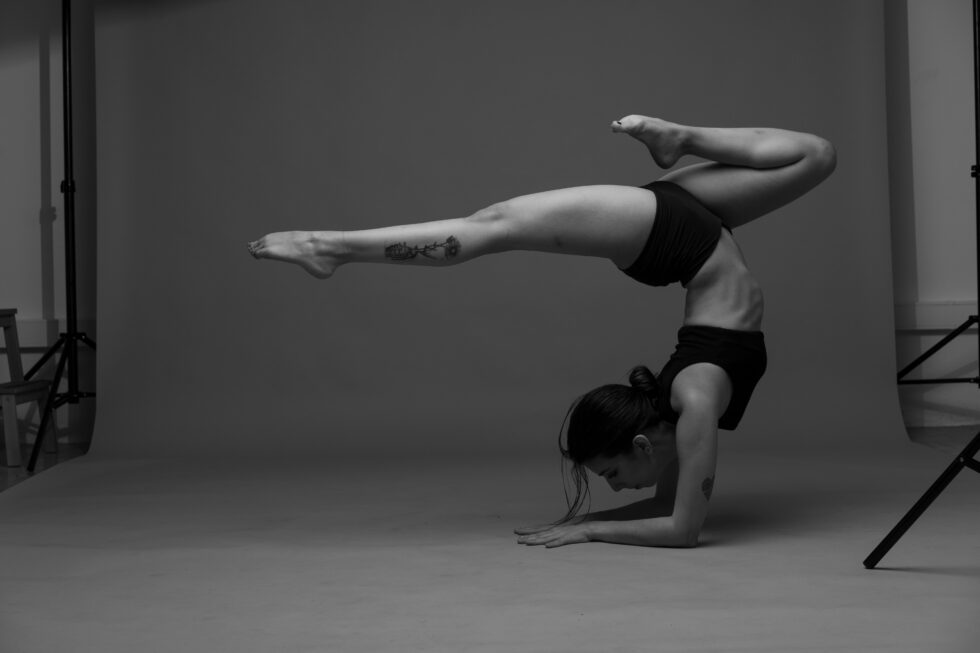
To finish this article, we can see one more application of the tool under analysis, this time applied to the background extension.